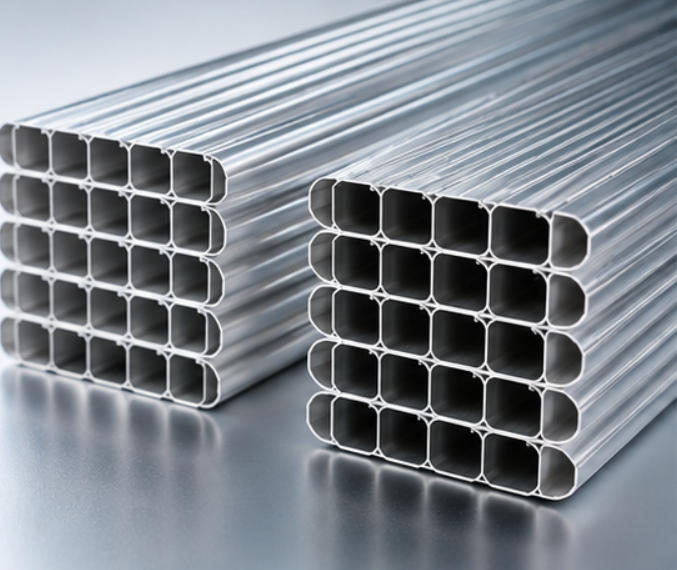
Brazing defects in aluminum microchannel heat exchangers can lead to refrigerant leaks, flow restrictions, dimensional issues and costly production rework. But the visible defect doesn’t always show its true cause. For example, a leaking joint may be caused by poor wetting, surface contamination, incorrect joint clearance, or unstable furnace conditions.
For heat exchanger manufacturers, the priority is to identify the failure mechanism before changing production parameters. This guide explains common aluminum microchannel tube brazing defects, practical inspection methods, and corrective actions that help improve manufacturing quality.
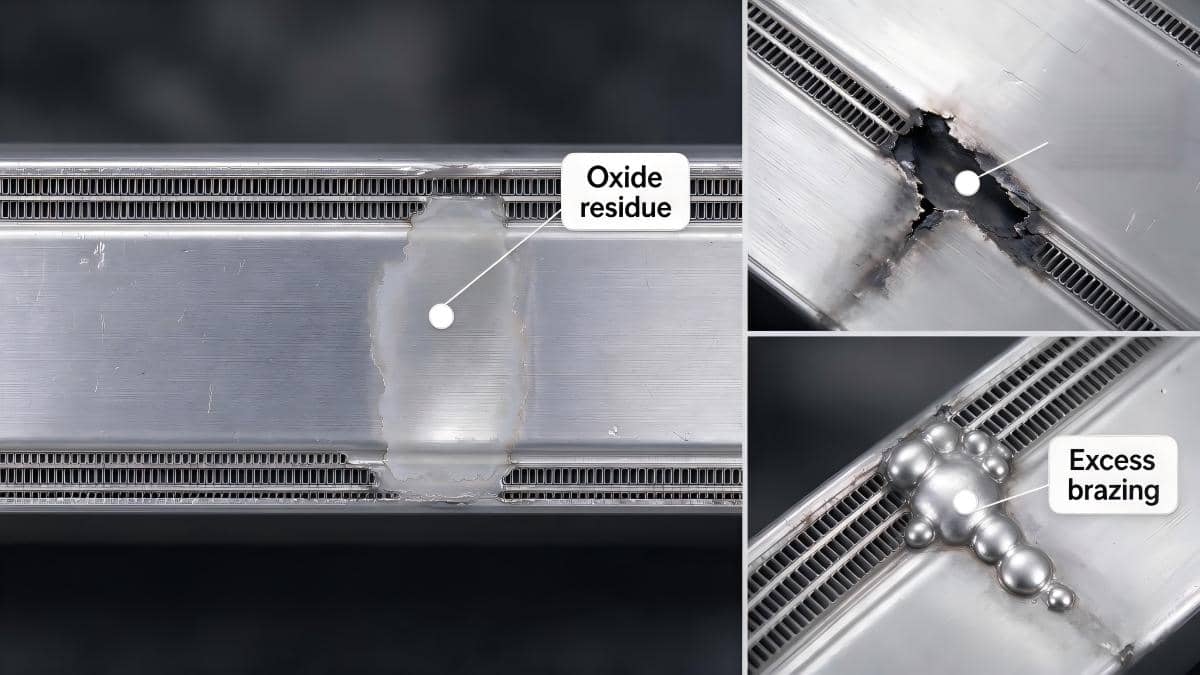
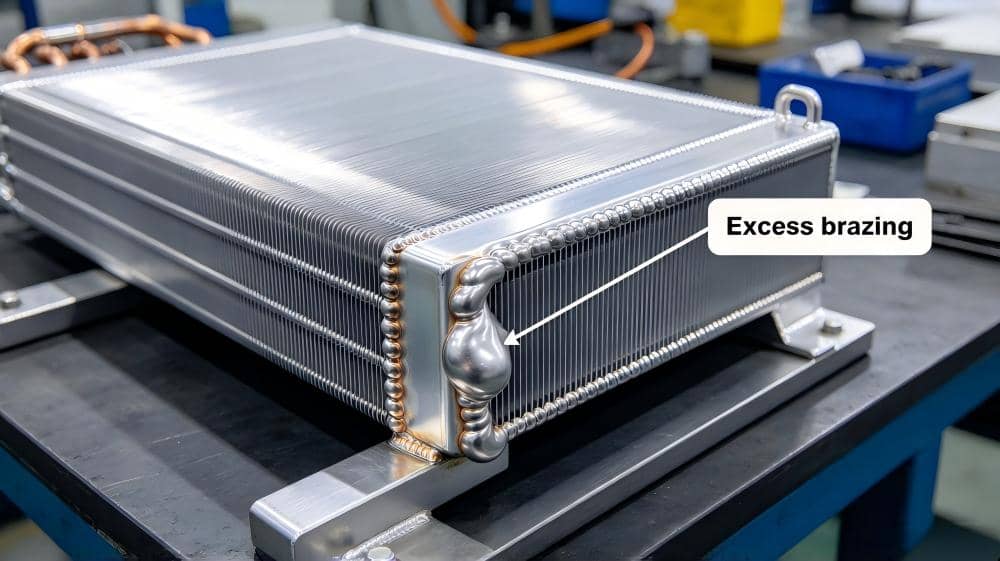
Common Aluminum Microchannel Tube Brazing Defects
Microchannel heat exchangers contain multiple closely spaced passages and brazed connections. Defects can occur at tube-to-header joints, fin connections, or other brazed interfaces. Identifying the location and symptoms helps narrow the investigation.
| Brazing defect | Typical symptoms | Possible causes |
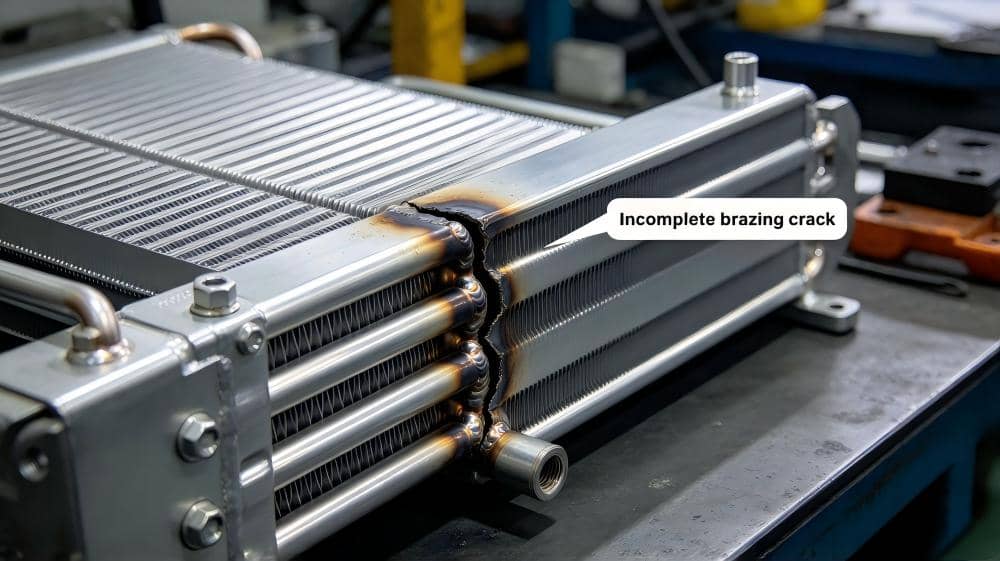
| Incomplete brazing | Discontinuous fillets or visible separation | Poor wetting, contamination, insufficient heating, or uneven flux coverage |
| Brazed joint leakage | Failed leak test near a connection | Incomplete filler flow, poor joint fit-up, or local process variation |
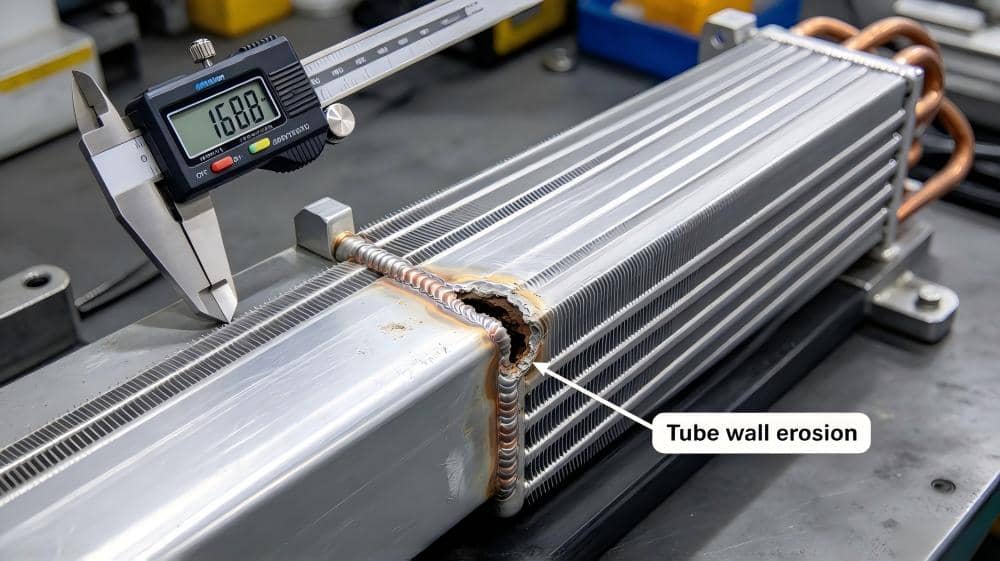
| Excessive tube erosion | Local wall thinning near a brazed joint | Excessive thermal exposure or interaction with filler metal |
| Blocked microchannels | Abnormal flow resistance or reduced circuit flow | Internal contamination, foreign material, or excessive filler migration |
| Assembly distortion | Misalignment or dimensional changes | Inadequate fixturing or uneven heating |
| Inconsistent fillets | Uneven filler distribution across joints | Variable joint clearance, flux application, or thermal conditions |
These symptoms are diagnostic clues, not definitive proof. For example, a leak near a header may originate from the joint geometry rather than a defect in the extruded tube.
What Causes Aluminum Microchannel Tube Brazing Problems?
Four areas should be checked during a root-cause investigation.
1. Surface contamination and oxide formation
Oil, grease, handling residues, and oxide films can interfere with filler-metal wetting. Review cleaning procedures and material handling first. Applying more flux will not necessarily solve a contamination problem.
2. Flux and coating consistency
Flux helps manage oxide formation and supports wetting when used under suitable conditions. Uneven application, contamination, or an unsuitable flux system can contribute to inconsistent joint quality.
For pre-coated tubes, verify the coating specification, batch records, storage conditions, and surface condition before assembly. CHAL provides different aluminum microchannel tube products and coating options, subject to the requirements of the specific product and project.
3. Joint clearance and assembly accuracy
Incorrect insertion depth, misalignment, and inconsistent clearance can affect filler flow. Compare the actual assembly with the approved drawing. Check fixtures for wear, movement, and inadequate support.
4. Furnace conditions
Review the validated thermal profile, conveyor speed, atmosphere conditions, and relevant production records. Insufficient heating may contribute to incomplete joint formation. Excessive thermal exposure may increase the risk of tube erosion.
There is no universal furnace setting for every microchannel assembly. The appropriate process window depends on the alloy, filler system, component geometry, and validated production procedure.
How to Inspect Brazed Microchannel Tube and Joints?
Inspect according to the sequence prescribed. Every step should be aimed at finding the defect or providing evidence for the next investigation.
1. Inspection by eye
Check for discontinuous fillets, visible erosion, cracks, distortion, and contamination. Note the location and appearance of each defect. Visual inspection is useful for screening, but cannot assure the integrity of every internal joint.
2. Dimensional inspection
Tube alignment, assembly spacing and critical dimensions per approved drawing. Where erosion is suspected, a suitable measuring or testing method shall be used to determine the remaining wall thickness.
3. Leakage testing
Use the approved leak test method for the component and application. Record the test conditions, acceptance limits and results. When a test fails, you should determine where the leak is and not automatically assume the tube material is bad.
4. Pressure test
Pressure testing can help to confirm the performance under specified test conditions. It is not the same as leak testing. The correct method depends on the design, operating requirements, applicable standards and customer specification.
5. Flow and internal passage checks
If a circuit exhibits abnormal flow resistance, look for potential channel restrictions. Compare results to an accepted reference or acceptance limit. But more tests may be needed to differentiate an internal blockage from other problems within the circuit or the test system.
6. Examination in the laboratory
If the failure cannot be explained by routine inspection, representative samples shall be examined by an appropriate method. Metallographic analysis or other proven methods of examination can be useful in determining incomplete bonding, erosion or abnormal joint
For further background on inspection principles, consult Lucas-Milhaupt’s brazed joint inspection resources.
Corrective Actions for Different Brazing Defects
Corrective actions should address verified causes rather than symptoms alone.
| Confirmed problem | Recommended corrective action |
| Poor wetting | Review surface cleanliness, flux coverage, material compatibility, and thermal conditions |
| Leaking joints | Locate the leak and inspect joint geometry, filler distribution, and furnace records |
| Excessive erosion | Review thermal exposure and filler-metal compatibility with the base material |
| Restricted channels | Identify the obstruction and investigate contamination or excessive filler migration |
| Assembly distortion | Review fixture support, component alignment, and heating uniformity |
When a change is implemented, perform a controlled verification run. Reperform the proper inspections and verify that the initial defect has been corrected without creating a new problem.
For example, if several assemblies are failing leak test near the header, first map the leak locations. Inspect sample joints and check production records of units that failed and those that passed. If the joint clearance is found to be out of tolerance, modify the assembly configuration as required and verify the result with another inspection and leak check.
This is an example of a troubleshooting process, not a report of a particular customer case. Multiple process variables shall not be changed at the same time without a defined validation plan. Otherwise, it’s hard to know which one fixed the problem.
How to Prevent Brazing Defects in Production?
Effective prevention begins before mass production. Manufacturers should establish clear material, assembly, and process controls.
- Verify material specifications. Confirm the alloy, dimensions, coating, filler materials, and joint design against approved documentation.
- Control incoming quality. Check material identification, coating condition, and relevant batch records.
- Validate the complete assembly. Establish a suitable process window for the actual combination of tubes, fins, headers, flux, and furnace conditions.
- Standardize assembly setup. Check fixtures, joint clearance, alignment, and component positioning.
- Monitor critical process variables. Maintain the furnace and production records required by the control plan.
- Define inspection requirements. Establish inspection frequency, test methods, acceptance limits, and escalation procedures.
- Manage process changes. Review and revalidate the process when changes to materials, coatings, tooling, or equipment could affect brazing quality.
CHAL’s microchannel tube manufacturing and process considerations provide additional context on the manufacturing factors that can affect product consistency. This reference complements the troubleshooting guidance above rather than replacing process-specific validation.
A coating specification alone cannot guarantee a defect-free assembly. Tube condition, joint design, and furnace control must work together.
Brazing Quality Checklist for OEM Buyers
Buyers can use the following checklist when qualifying a supplier or approving a new production program.
| erification item | Evidence to request |
| Tube and coating specifications | Approved drawings and material requirements |
| Material traceability | Batch identification and relevant material records |
| Process qualification | Documented process window and validation results |
| Furnace control | Relevant thermal-profile and process-monitoring records |
| Joint inspection | Defined inspection criteria and recorded results |
| Leak integrity | Test method, acceptance limits, and test records |
| Nonconformance management | Root-cause analysis and corrective-action documentation |
| Change management | Change records and revalidation evidence where required |
Agree on acceptance criteria before mass production. Define how nonconforming assemblies will be isolated, investigated, and released or rejected. These controls reduce disputes and improve communication between the supplier and OEM.
For project-specific dimensions, alloys, and coating requirements, buyers can review CHAL’s aluminum microchannel tube product specifications before preparing an RFQ.
Frequently Asked Questions
Q1: What are the causes of poor brazing on aluminum microchannel tubes?
Surface contamination, irregular flux coverage, unsuitable joint clearance and thermal conditions are typical causes. To determine the actual cause, it is necessary to inspect findings and production records.
Q2: Why does a brazed aluminum heat exchanger leak?
Leaks may result from incomplete joint formation, poor fit-up, local overheating, or material damage. The leak location should guide further inspection.
Q3: Can flux coating prevent all brazing defects?
No. Flux can support oxide control and wetting, but it cannot compensate for every surface, assembly, or furnace-process problem.
Q4: Which tests are used to inspect brazed microchannel tubes?
Depending on the application, inspection may include visual and dimensional checks, leak testing, pressure testing, flow verification, and laboratory examination of failed joints.
Q5: How can manufacturers reduce recurring brazing defects?
They should validate the complete assembly process, control incoming materials, monitor critical furnace conditions, maintain traceability, and verify corrective actions before returning to routine production.