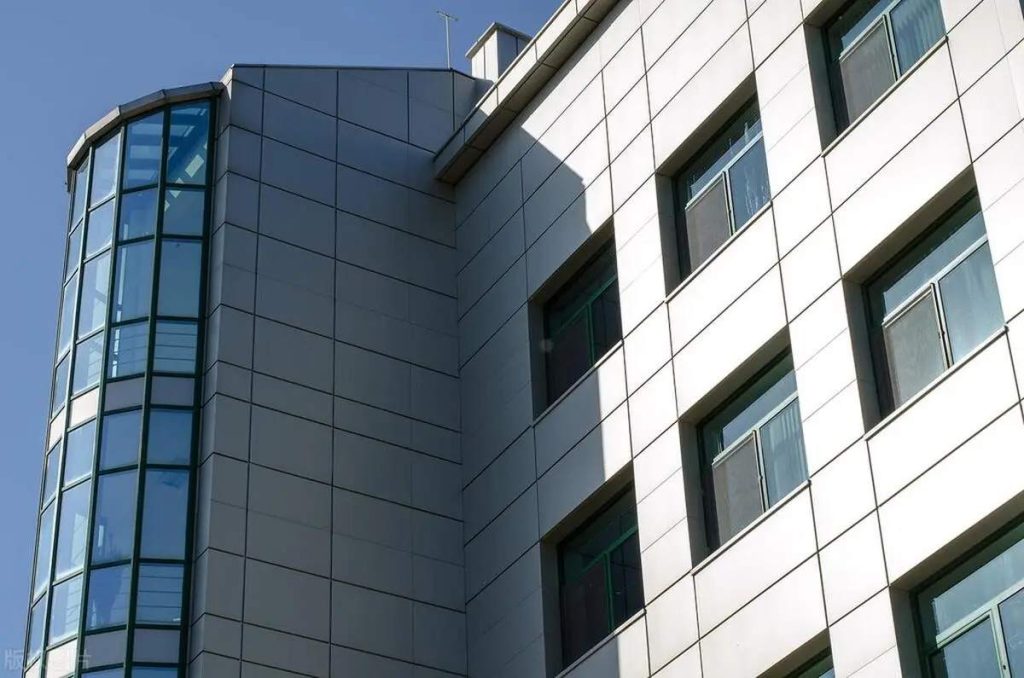
Aluminum metal roofing is a popular choice for residential and commercial buildings due to its durability, longevity, and low maintenance requirements. If you’re considering installing aluminum roofing sheets on your own, this guide provides a comprehensive overview of the process, from preparation to completion. Remember, this guide serves as a general framework, and it’s crucial to consult the specific instructions provided by your chosen aluminum roofing sheet manufacturer and adhere to local building codes.
Before You Begin: Safety and Planning
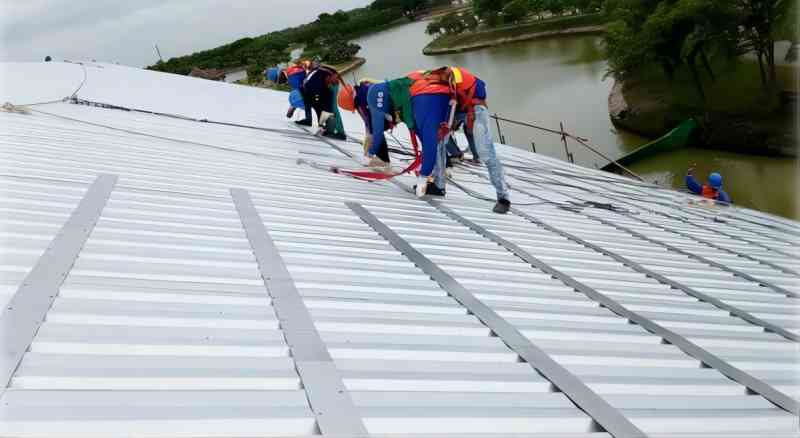
Safety is paramount when working on any roofing project. Always wear proper personal protective equipment (PPE) such as gloves, safety glasses, and sturdy footwear with slip-resistant soles. Working with aluminum sheets can involve sharp edges, so gloves are essential to protect your hands. It’s also crucial to work with a helper, especially when handling larger roofing sheets.
Before diving into the installation process, take the time to plan and prepare thoroughly.
- Gather the necessary tools and materials:
| Tools | Materials |
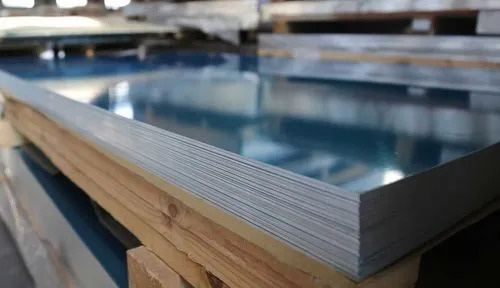
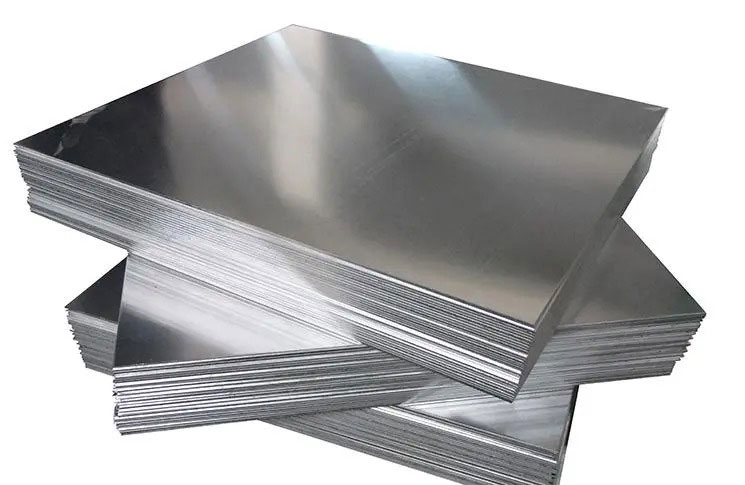
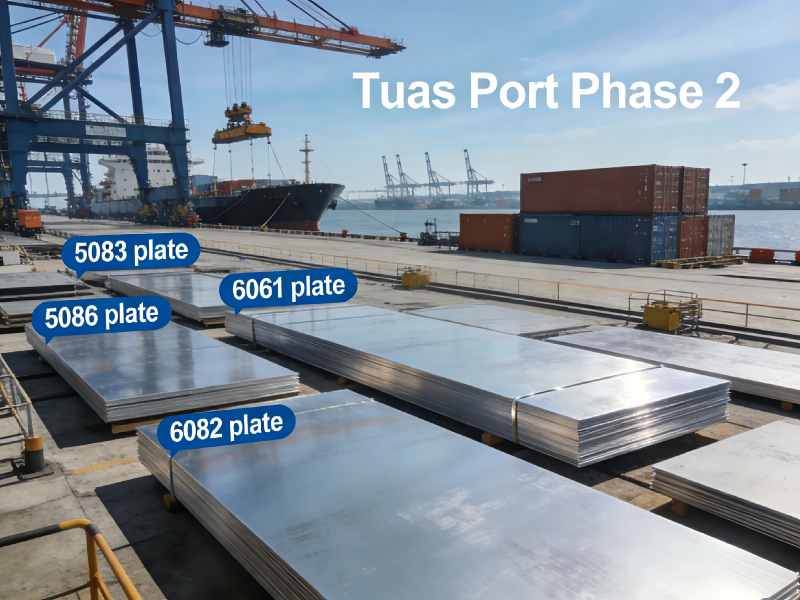
| Power drill | Aluminum roofing sheets (gauge thickness and panel profile according to your project requirements) |
| Metal shears or snips | Underlayment material (felt, synthetic underlayment, etc.) |
| Tape measure | Drip edge (metal flashing) |
| Level | Ridge cap (metal flashing) |
| Chalk line | Starter flashing (metal flashing) |
| Utility knife | Valley flashing (metal flashing) (if applicable) |
| Caulk gun | Screws specifically designed for aluminum roofing (length and type based on panel profile and local building codes) |
| Ratchet with various sockets | Sealant compatible with aluminum roofing |
| Safety glasses | Roof cement (optional, for additional waterproofing) |
| Work gloves | / |
- Check local building codes: Ensure your aluminum roofing project adheres to all relevant building codes and permitting requirements in your area. Contact your local building department to obtain the necessary permits and familiarize yourself with any specific regulations that may apply to your project.
- Measure your roof: Accurately measure the total roof area, including any hips, valleys, and eaves. This will help you determine the exact amount of aluminum roofing sheets, underlayment, and other materials required for the project.
- Prepare the roof deck: The roof deck should be clean, dry, and structurally sound. Remove any old roofing materials, debris, and protruding nails. Ensure the deck is flat and level. Uneven surfaces may require corrective measures like shimming or replacing damaged decking boards.

Installation Process of Aluminium Roofing Sheet
Now that you’re well-prepared, here is the detailed installation process:
- Install the drip edge: The drip edge is a metal flashing that gets installed along the eaves of the roof. It diverts water away from the fascia board and prevents water from entering behind the underlayment and siding.
- Start at one end of the eaves and secure the drip edge using roofing nails or screws driven through the predrilled holes in the drip edge flange. Ensure the drip edge overlaps slightly at each joint.
2. Lay the underlayment: The underlayment acts as a secondary water barrier beneath the aluminum roofing sheets.
- Unroll the underlayment material starting at the lowest point of the roof and work your way up. Overlap the underlayment by at least 4 inches horizontally and 6 inches vertically. Secure the underlayment using staples or roofing nails along the top edge, ensuring enough slack to prevent tearing when the roof heats up and expands.
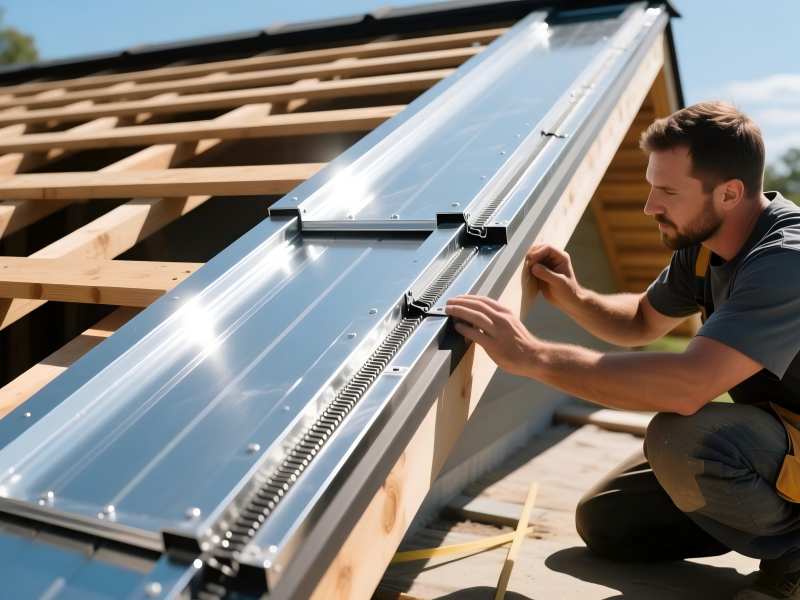
3. Install the first panel: The first panel is crucial for setting the alignment and leveling for the subsequent panels.
- Position the first panel at the eaves, ensuring a proper overhang according to the manufacturer’s recommendations and local building codes. Typically, the overhang is between 3/4 inch and 1 1/4 inch.
- Use a level to ensure the panel is straight and square.
- Secure the panel to the roof deck using screws specifically designed for aluminum roofing. Follow the manufacturer’s recommendations for screw placement and spacing.
4. Install subsequent panels: Subsequent panels are installed by overlapping the side joints of the previous panels.
- Overlap the side joints of the next panel according to the manufacturer’s specifications, which is typically between 1 inch and 1 1/2 inch.
- Ensure the panels are aligned properly and level before securing them with screws.
- Repeat this process for all subsequent panels, working your way up the roof.
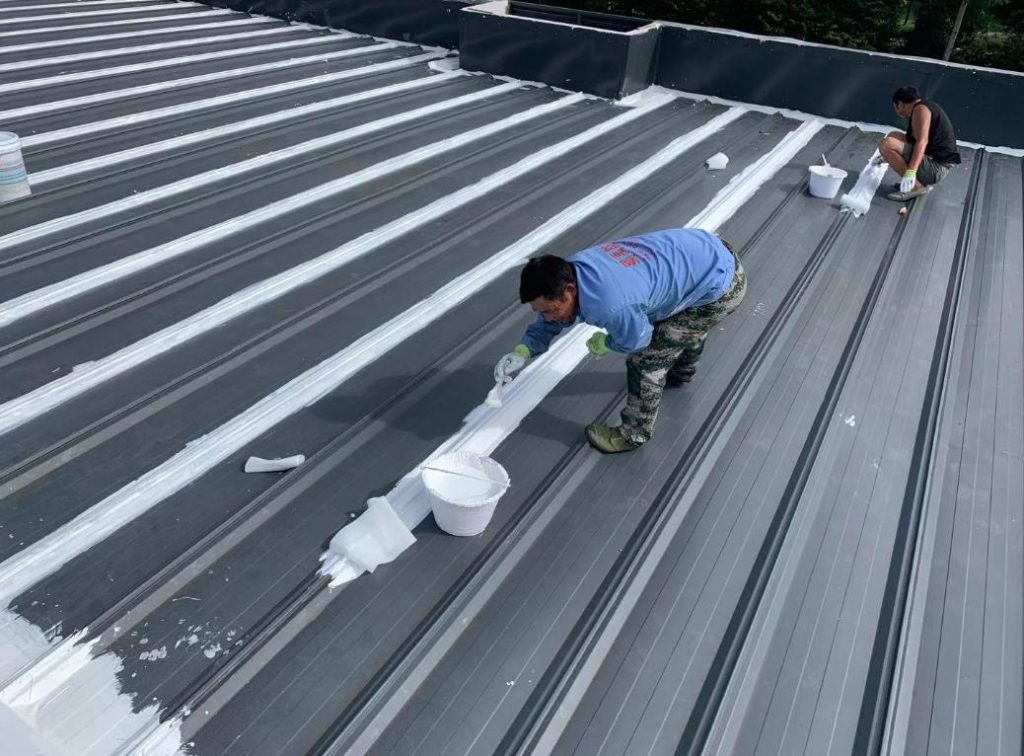
- Install ridge cap and other trim: Once all the roof panels are secured, it’s time to install the ridge cap and other trim pieces.
- The ridge cap covers the peak of the roof, providing a finished look and additional protection against water infiltration. Slide the ridge cap pieces together, ensuring proper overlaps and following the manufacturer’s instructions for securing them.
- Apply sealant along the ridge cap joints and any other areas where water infiltration might occur, such as around vents, pipes, or chimneys.
6. Install valley flashing (if applicable): Valleys are the inward corners formed where two sloping roof sections meet. Valley flashing is crucial to prevent water from pooling and leaking in these areas.
- Install valley flashing according to the manufacturer’s instructions and local building code requirements. This typically involves overlapping the underlayment material and folding the flashing up the sides of the valley. Secure the valley flashing using nails or screws and seal all seams with sealant.
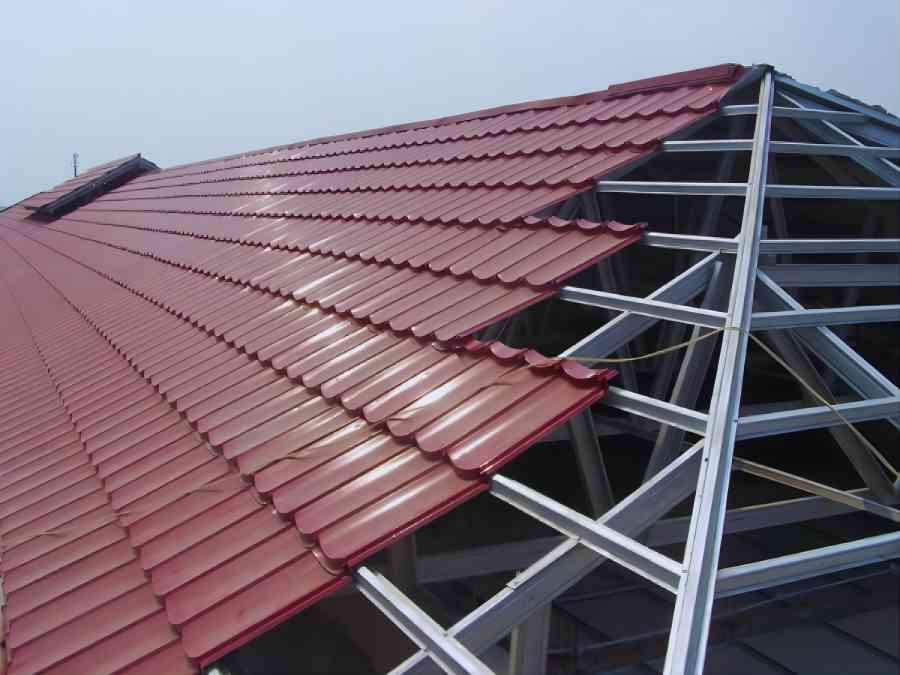
7. Cut and install aluminum sheets around roof penetrations: Pipes, vents, and other roof penetrations require careful attention to ensure proper waterproofing.
- Use metal shears to cut aluminum sheets to fit around each penetration, allowing for proper clearance.
- Fold the edges of the cut sheet metal to create flanges and apply sealant underneath the flanges before securing them to the roof deck and penetration with screws. Ensure all gaps and seams are properly sealed.
Finishing Touches
- Inspect your work: Once the entire roof is covered and all trim pieces are installed, thoroughly inspect your work.
- Ensure all aluminum panels are securely fastened, with proper overlaps and no gaps.
- Check all flashing around eaves, ridges, valleys, and penetrations for proper installation and sealing.
- Look for any damaged or loose screws and replace them if necessary.
- Clean up the work area: After completing the installation, clean up the work area thoroughly.
- Remove all debris, scrap metal, and leftover materials from the roof and surrounding areas.
- Dispose of waste materials responsibly according to local regulations.
Additional Considerations:
- Aluminum roof price: The cost of aluminum roof installation can vary depending on several factors, including the size and complexity of your roof, the type and gauge of aluminum sheets used, labor costs in your area, and any additional materials or features required. On average, aluminum roof prices can range from $2.15 to $7 per square foot, not including labor costs. It’s crucial to obtain quotes from qualified roofing contractors to get an accurate estimate for your specific project.
- Roof pitch: The pitch of your roof, which is the angle of the slope, can affect the installation process. Steeper roofs may require additional safety precautions and potentially even professional help, especially for those without prior experience working at heights.
- Complexity of your roof: Roofs with complex features like hips, valleys, and skylights require more intricate planning and installation techniques. If your roof has such features, it’s advisable to consult with a professional roofing contractor to ensure a successful and watertight installation.

Conclusion
Installing aluminum metal roofing sheets can be a rewarding project, offering a durable, long-lasting, and energy-efficient roofing solution for your home or building. By following the detailed steps outlined in this guide, including proper planning, safety measures, and meticulous installation techniques, you can achieve a successful DIY aluminum roof installation.
If your roof has complex features, involves steep slopes, or lacks prior experience working at heights, it is highly recommended to consult with a qualified roofing professional. They possess the expertise, experience, and safety equipment necessary for a safe and proper installation, ensuring your roof provides optimal performance and protection for years to come.